Sunday, February 27, 2011

Collage picture frame

I put this project together this morning.

001
This picture frame came from an antique mall a couple of years ago.  I think I paid $4 for it.

002
So, this is what I did with it.  The backing is made out of a book cover that I cut to size.  The ribbon, lace, and crochet motif were Goodwill finds.  I made the ribbon roses using a tutorial that I found on You Tube this morning.

I'm really happy with this project.  Now I just need to decide where to hang it.

Saturday, February 26, 2011

Goodies! I got goodies!

My local Goodwill has had great crafty stuff this week!

002
bag of lace $0.99
box of beads $0.99
ribbon $0.79
elastic $0.79
wooden christmas lights $0.79


004

006
Books $0.25 each
clip boards $0.99 each
bag of lace $0.79
shirt pattern $0.79
chipboard alphas $0.59
hair ties $0.99
stitch and stretch elastic $0.79

I plan to use the clip boards and hair ties for scrapbooking.  The wide lace at the bottom of the black paper is elastic lace.  I'll use the laces for sewing and scrapbooking projects.  I think the hair ties could be used as closures on mini albums. 

Friday, February 25, 2011

Yet another Goodwill haul

020
$0.99

017$0.59  When I picked this up I thought it was just a length of chain.  I plan to use it for mini scrapbooks etc.  When I opened the bag I realized that it's two necklaces!  So, I have two clasps and several sizes of chain to use on projects.  I'll take it all apart and use the lengths that I need for each project.  Not bad for 59 cents!

015
$1.99  So, this works out to $0.50 per spool of ribbon/thread.  There isn't much of the crochet thread left but there is tons of that ribbon.  Isn't the lace awesome!  The black ribbon is faded on the outside but the rest isn't.

There was a big box full of beads, craft tools etc for $15.99 but I didn't buy that.  I try not to spend that much.

Thursday, February 24, 2011

I love thrifting!

I went to Goodwill today and found two awesome items!

026
There is 2 yards and 9 inches of the blue trim.  I recently bought a bunch of other ribbon etc at Goodwill.  There is a pic of it in another post.  Isn't this trim gorgeous!  $0.99!

Guess How Much I Love You is a great kid's book.  I have read to my son A LOT!  So, I just had to get this!  It's basically a photo album and the book combined.  There are slits on the pages where you can tuck the corners of your pictures.  I might just scrapbook right over those pages and ignore the pre-planned picture spaces.

I found this book on Amazon when I got home.  They have it starting at $55!  I bought it at Goodwill for $1.99.  The storage box needs to be wiped down but other than that it is in excellent condition.  The book is in perfect condition. 

Tuesday, February 22, 2011

Mass Scrapbooking

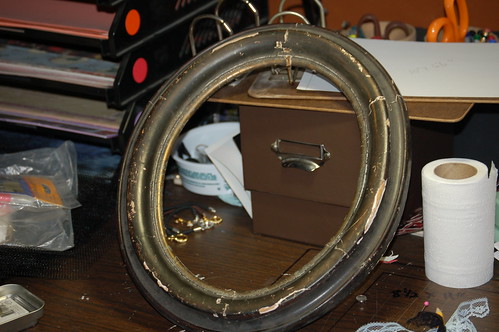
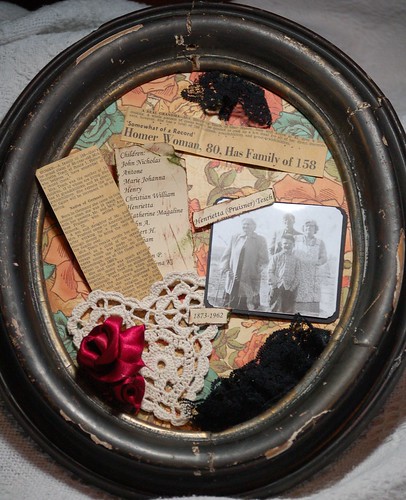
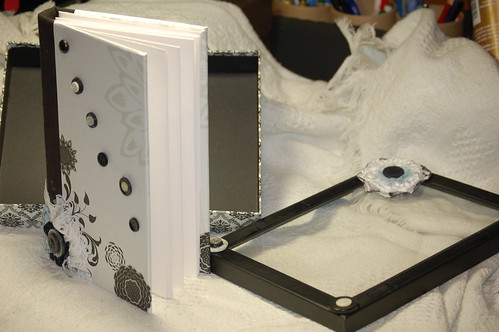
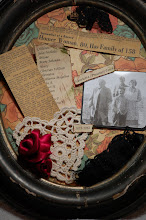
Several years ago I organized a group of family members to meet at my Grandpa's house to put all of his photos into scrapbooks.  He had boxes of photos that no one ever looked at.  So, we spent months sorting, labeling, and scrapbooking the photos.  When we were done we had three thick 12x12 scrapbook albums, two pocket photo albums and a couple of small shoe boxes of photos neatly organized and preserved.  It was definitely worth all of the hard work.  Grandpa passed away in 2008.  He loved those books.  Everytime I would visit him we would look through the books.  He loved to quiz me about our family.  He was one of 18 children.  Grandpa would point to a picture and ask me who the person was and how we were related.  In a family as large as ours that can get really difficult!  He would laugh when I would shrug and admit that I didn't have a clue.  Good times.

I have those books now and I really cherish them.

Now, I have embarked on a similar project.  This time it is my parent's collection of family photos and I'm doing this project on my own.  Oh boy, this one is going to take some time!

005

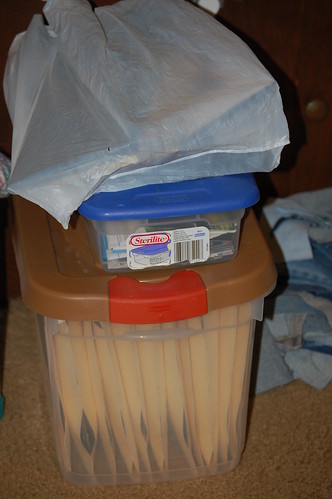
I got home the other night with two tubs and a bag full of photos to sort.  Then I found out that we missed a tote!  

This is what I do when I work on a project like this:

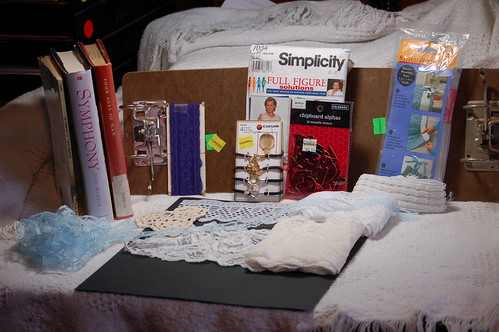
1.) Gather all of the family photos, cards, keepsakes etc.
2.) Sort them by person, family group, event etc. The categories depend on your family and the type of organization you want in your finished books.
3.) Label the back of all of the photos to the best of your ability.  If you think the photo was taken in 1953 based on the information that you have, then write it on the back.  Don't worry if you might be a couple of years off.  Close is better than nothing at all.  Same thing with names.  At least write the family that you think the person belongs to.
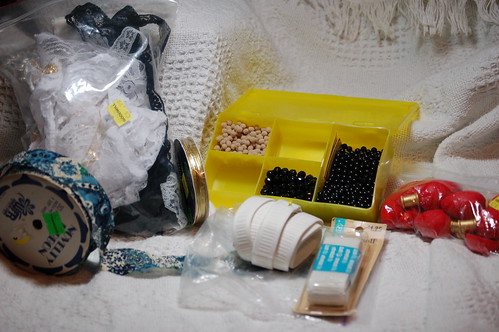
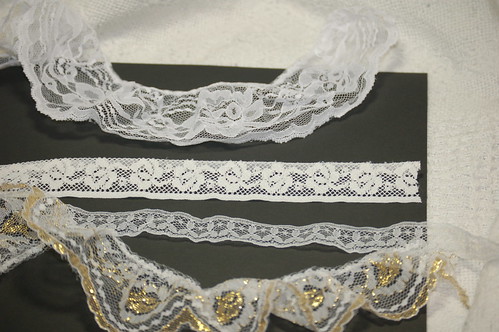
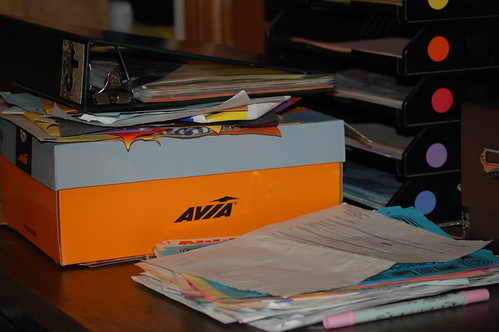
4.)  I have used shoe boxes with index cards for dividers to organize the photos.  I have also used manila envelopes (stapled up the sides).  Use whatever works for you.
5.) Scrap one group of photos at a time.  So, for example I will take the folder of one of my sister's photos and organize those by date, youngest to oldest.  I will make sure they are all labeled, sort out duplicates and bad pictures.  If the picture is really fuzzy or just doesn't really help capture a memory then I will either throw it away or save it in a photo box.  Maybe some else will want it.

Then the actual scrapbooking can begin but that will have to wait for another post.

Paper crafts - books

I made these over a year ago.  I've just had them sitting in a box of completed projects.

010
This is the simplest one.  It is just scrapbooking paper with eyelets and jump rings for the binding.  The paper inside is just plain white paper. 

009
The front and back covers of this book are cereal boxes covered with scrapbook paper.  The binding is a twine type rope.  I used this video to learn how to do Japanese stab binding. 
http://www.youtube.com/watch?v=UO-KYuC85sk

007
Again, the covers of this one are cereal box type cardboard covered with scrapbook paper.  The black parts open out and the main cover flips up to reveal the pages.  I really like it.  It's pretty.

All three of these books could be embellished a million different ways and filled with all sorts of things.

Craft supply organization

Hello!  There are lots of ways to organize craft supplies.  I like to use re-purposed things to organize my supplies.  I'll show you what I mean.

My Mom gave me two of these Towne Club crates.  I use one to organize some of my rubber stamps.  The other one is full of ribbon.

033

Here is a link to information about Towne Club.  http://en.wikipedia.org/wiki/Towne_Club
I remember going to a store with my parents when I was a kid to buy Towne Club pop.  It must have been 1983-1985.  Anyway, my Mom had two of the crates.  She can't remember how she ended up with them.  I didn't want her to throw them out so I took them.  They work great for organizing my ribbon and stamps.

039

My husband's sister and her husband gave us a crate full of wood scraps.  My husband uses them for small woodworking projects.  He likes to make desk clocks and other decorative items.  The crate had been sitting outside for a long time.  I brought it in the house, washed it, oiled the wood, and decoupaged the label.  It was peeling up in a few places.  How great does this look!?

 036

038
It holds books, book covers, and boxes that I alter for various projects.

I bought a shoe organizer at goodwill for $2 and stuffed it full of yarn. 
032
It hangs almost to the floor of my closet.

Other organization ideas:
Use an old entertainment center to organize and display supplies and completed projects
Fill baby food jars with paper clips, beads, brads etc.  I hot glued the lids to the bottom of a shelf.
Canning jars are great for keeping all of your buttons, safety pins etc all in one place.

One last idea.  I use an old wooden spool of thread and a stray double point knitting needle to organize some of my bobbins.  I put the knitting needle in the hole of the spool then just put a bunch of bobbins on the needle. It looks neat and keeps the bobbins organized.

Monday, February 21, 2011

Denim projects

I made these several months ago.

013

014

012

They are both made with bits and pieces of old jeans. 

altered book and box scrapbook project

My sister in law works at a law library.  When they are done with binders and books that are our of date they just throw them away.  She gives me tons of binders and book covers.  She takes all of the pages out of the books for me.  I've used the book covers to make purses, accordion style organizers, boxes etc.

This time I made a book!  Also, I had a box from a set of bath products that I was given for Christmas last year.

So, I put those two things together and made this:

016

020

This was my first attempt at sewing signatures together for a book.  It was a little challenging.  It looks pretty good though.  I will stuff these pages full of pockets, mini books, photos, and decorative elements someday soon.

I use the binders to organize crochet patterns, projects ideas, embroidery floss etc.  I have also used a few of them to organize school papers, report cards etc for myself, my son, and my two brothers.

006
My youngest brother is graduating from High School this year.  Last night I gathered up all of his school papers and organized them by year.  Then I sanded down the cover of the binder, sprayed it with black paint and glued some labels on it.   The page protects I am using are just from the office supply section (8 1/2 x11").

Kitchen decor

My kitchen has needed a little decorating for a while.  I painted early last year but we have been needing new curtains etc.  Like a lot of people, we don't have tons of money to spend on decorating.  So, I try to make as many things as I can and buy thrift store and clearance items as much as possible.  Here are a few things that I have found or made to spruce up my kitchen (not including my fabulous mushroom, see my last post).

029
I canned two quarts of silverware!!  We were getting low on silverware.  One of my Aunts had a box of silverware that she didn't need.  She gave it all to me but we don't need this much silverware in our drawer.  I decided that I wanted to store it in a decorative way rather that having it take up space in a cupboard.  I think the silverware looks nice in this jar and on my shelf!

030
My Mom made floral curtains several years ago for her living room.  She changed her decor and gave the curtains to me.  I had the curtains in my stash for a long time.  The curtains in our kitchen were stained and looked really bad.  Our son used to twist them around and hid in them.  So, I cut the tops off of our curtains and off of the set Mom gave me.  Then I sewed our tops to the floral curtain bottoms.  Easy peasy curtains!  I think they look really nice.

027
M&M dispenser - My husband made it
Candle holder - I glued two dollar store candle holders together with Gorilla glue
Triple scroll saw picture frame - My husband made it. He makes lots of beautiful scroll saw/fretwork projects
Coaster set - I bought this set at a yard sale last summer.  I think it cost $1
Brown/amber glass dish - Bought at Goodwill for $1 or $2
Table runner with tatted trim - Given to my by my fabulous Aunt Michele!

025
$2 set of beautiful dishes from Goodwill.  They are in perfect condition.

Thrift store mushroom

If you know me or if you have read any of my posts you know that I love to go to Goodwill, garage sales, antique malls etc.

A couple of months ago I stopped and Goodwill and found one of my best finds!  I LOVE this thing.  It's one of those things that just makes me smile.  It only cost $1.99!

021

023

Isn't it awesome!!  I don't collect mushrooms or anything like that but I have been looking for a unique flour and sugar container set for a long time.  I've looked online but they can be really expensive.  This was the best find ever!!

Sunday, February 20, 2011

Steampunk Debutante mini album

I have been scrapbooking since 1999.  Normally I use 12x12 albums.  I have never made a mini album before but I have watched several videos on You Tube about mini albums.  The videos made me want to make one for myself.  Also, I have been so busy with other projects that I haven't scrapped or bought any new supplies in about a year.  I had never even heard of Graphic 45 until about a month ago (again because of You Tube videos).  Well, I fell in love!  I think Graphic 45 designs are the most beautiful things I have ever seen!!  I want everything they make.  I bought the 12x12 Steampunk Debutante pack recently.

So, my first mini was made using mostly the Steampunk Debutante papers.  I did use some paper from my stash along with ribbon, buttons, and hardware that I already had. 

If I had a video camera I would post a video, but I don't.  So, here are a tons of pics!

001
The handle was in a bucket of misc. hardware in my husbands woodworking shop (our garage).  I bought the metal frame at a yard sale.  I inked it.  It was a light cream color.

003

004
I made the little envelope with some paper from my stash.

005

006

007
The left side page folds out to hold up to 5 pics

008
Isn't she beautiful!!

009
That's a mini within a mini in the pocket to the left.  I stuck this pic of my Grandpa in this page just to see what it would look like with a pic in there.  I really like the way it looks.

010
I made several pockets by gluing two of the pages together and punching a notch in the edge with a circle punch.

012

014
The picture is of my Great Grandparents.  The tags on the right are held together with some crocheted silk gimp. I crocheted that this morning.

015

I'm so happy with this project.  I wasn't sure about it a first but it turned out better than I hoped!

Tuesday, February 15, 2011

Denim rag bag

This bag was made like a denim rag quilt.  I clipped all of the seam allowances then washed and dried it so it would fray.

002

003
This pic shows the pocket.  The fabric sticking out of the pocket is the left over lining fabric.

I sewed the three zipper parts together and then sewed them on the front of this purse to make a pocket.  The button for the closure is covered with a piece of the lining fabric.  The button hole is the button hole cut from a pair of jeans.  The handles are seams.  The pink flower is ribbon that I gathered and stitched to the button and a backing from an old piece of jewelry.  So, the flower can be pinned onto anything.

This bag would be cute for a little girl.  It might end up with one of my nieces.  If they need another bag! :)

Monday, February 14, 2011

Jeans and t-shirt projects

Crochet and scrapbooking are the crafts that I do most but lately I have been sewing alot.

When I decided that I wanted to make a couple denim rag quilts and some other jean projects I asked my family if they had jeans they wanted to give away.  I ended up with two plastic tubs overflowing with jeans!  I've had these jeans for a while now.  The totes take up a lot of room.  So, I finally sat down to sort the jeans.  I harvested parts that I want for different projects and tossed the rest.  Several pairs are going to Goodwill.

I still have plenty of jean material for several projects.  Here are three completed projects:

001
This is one pile of jeans.

003
I made this bag out of the legs and waist band of one pair of jeans.  The lining fabric and thread was also given to me.  So, this project was free!

004
This is a close up of one of the straps.  I cut the waist band in half then used a seam ripper to split the ends of the handles.  I also cut off some of the excess fabric at the ends so it would be easier to sew.  I think it turned out really well.

006
I made this organizer/wall hanging our of four pockets from a pair of jeans, a tshirt for the backing, and cuff and seam parts for the hanging loops.

008
These coin purses were made from a black pair of jeans.  The lining is the blue fabric in the background of this pic.  These zippers were purchased at goodwill.  I bought eight zippers for $1.99.  So, each of these coin purses only cost me $0.25 to make.

003
I reconstructed this tshirt and gave it to my Mom.  I think it looks really good on her.  She loves it!

I spent a grand total of $0.50 to make all of these projects!

What do you think?